Ductless mini split systems are a popular and energy-efficient option for heating and cooling homes, especially when ductwork isn’t feasible or desired. But while these systems are compact and convenient, their installation is not a DIY job. To ensure peak performance, energy efficiency, and long-term reliability, it’s essential to have your ductless mini split installed by qualified professionals—like our experienced HVAC team.
Why choose professional heating and cooling installation for a ductless mini‑split system?
A proper heating and cooling installation of a ductless mini‑split ensures accurate sizing, strategic placement of indoor and outdoor units, correct refrigerant line and electrical connections, secure mounting, and full system testing. This leads to optimal energy efficiency, smooth operation, longer equipment life, and full manufacturer warranty coverage.
Here’s what you can expect during professional ductless air conditioning installation in Stanwood, WA and why calling the experts makes all the difference.
Step 1: Conduct a Professional In-Home HVAC Assessment
Every successful installation starts with a thorough evaluation of your home’s layout, insulation, and cooling/heating needs. Our HVAC professionals help determine the right size and number of indoor units based on square footage, room usage, and exposure to sunlight. Incorrect sizing can lead to poor performance and unnecessary wear on the system, so this step is critical.
Step 2: Select Optimal Indoor and Outdoor Unit Locations
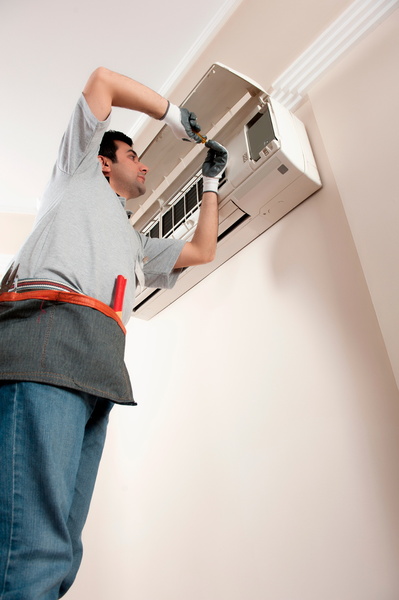
Ductless mini splits consist of two main components: an indoor air-handling unit and an outdoor compressor/condenser. Placement of each unit is key to maximizing comfort and efficiency. Indoor units are usually mounted high on the wall, where airflow can circulate freely. The outdoor unit must be installed on a stable, level surface with enough clearance for airflow and maintenance access.
Our professional installers follow manufacturer guidelines and local building codes to choose the best and safest placement.
Step 3: Install Line Set and Electrical Wiring
One of the major tasks in a mini split installation is connecting the indoor and outdoor units via a refrigerant line set, electrical wiring, and a condensate drain. A small, three-inch hole is drilled through the wall to run these components.
This is where technical skill is especially important. Improperly sealed wall penetrations or incorrectly handled refrigerant lines can lead to efficiency losses, leaks, or safety hazards. Our trained HVAC technicians have the right tools and knowledge to ensure airtight, code-compliant, and clean installations.
Step 4: Mount and Secure Ductless Units
Indoor units are securely mounted to the wall using durable brackets. Our team ensures the unit is level and properly anchored to prevent noise and vibration. The outdoor condenser is set on a concrete pad or wall bracket and anchored against wind and vibration.
Step 5: Test, Charge Refrigerant, and Finalize Setup
Once everything is installed and connected, we test the system for leaks, proper refrigerant charge, and electrical safety. Our team powers up the mini split, runs performance tests, and adjusts settings as needed to ensure the system is working as efficiently and quietly as it should.
Finally, we take time to walk you through using your new system and answer any questions you have about operation or maintenance.
Why Professional HVAC Installation is Crucial
Installing a ductless mini split system is more than just mounting units—it requires technical expertise, refrigerant handling certification, and attention to detail. When you work with our reliable HVAC team, you get peace of mind knowing your system will perform as designed, backed by proper warranties and service support.
Contact Cozy Heating Inc. today for comprehensive HVAC services including ductless air conditioning installation in Stanwood, WA. We won’t quit until you’re cozy!